
Please Choose Your Language
Views: 0 Author: Site Editor Publish Time: 2026-09-09 Origin: Site


In commercial fabrication, signage, and display manufacturing, the demand for optically clear, perfectly smooth acrylic edges is non-negotiable. Traditional mechanical cutting methods like CNC routing or sawing require physical clamping, limit the production of complex shapes, and leave a frosted, rough edge that requires labor-intensive manual flame polishing. Furthermore, investing in the wrong laser technology results in edge crazing, striations, or material burning, destroying product yield. Understanding the exact thermal mechanics of how an acrylic laser cutting machine vaporizes material to leave a naturally sealed, polished finish is critical. This guide breaks down the physics, hardware requirements, and operational parameters necessary to evaluate and select the right equipment for flawless, non-contact acrylic processing.
To master acrylic processing, operators must understand the thermal dynamics occurring at the microscopic level. When a high-powered laser interacts with polymethyl methacrylate (PMMA), it initiates a rapid phase change. The material transitions directly from a solid state to a gaseous state in a process known as sublimation. The laser beam creates a narrow channel, or kerf, by instantly vaporizing the polymer chains. You do not want the material to simply melt and drip; you want it to vaporize cleanly.
Immediately adjacent to this vaporization zone lies the Heat-Affected Zone (HAZ). Within this microscopic boundary, the residual thermal energy briefly melts the acrylic. As the laser head moves forward along the toolpath, this molten layer rapidly re-solidifies. This continuous melting and cooling cycle creates a glossy, naturally sealed edge. This finish resists moisture and dirt ingress, providing an optical clarity that mechanical cutting simply cannot replicate. The viscosity of the melt pool determines how smooth the final edge will be.
Wavelength absorption dictates the entire process. Successful clear acrylic laser cutting relies exclusively on the 10.6-micrometer wavelength. At this specific far-infrared frequency, clear acrylic acts as an opaque barrier, absorbing nearly 100% of the directed energy. In stark contrast, visible or near-infrared light generated by diode or fiber lasers passes directly through clear materials. Attempting to cut clear acrylic with a fiber laser is physically impossible, as the beam simply transmits through the sheet without generating the necessary thermal friction.
Material composition further influences edge quality. Cast acrylic and extruded acrylic possess different molecular structures due to their manufacturing processes. Cast acrylic is poured into glass molds, resulting in long, cross-linked polymer chains with high molecular weight. When laser cut, it produces the highest-quality, frost-free optical edge. Extruded acrylic is pushed through metal rollers, creating linear polymer chains with inherent directional stress. While extruded sheets cut faster and require less power, they are significantly more prone to melting, edge burrs, and localized warping during thermal processing.
The internal architecture of the equipment directly dictates the quality of the final cut. The primary engine of this process is the CO2 laser tube. Maintaining absolute power stability is required to sustain a consistent melt pool along the edge of the material. Any fluctuation in power delivery will immediately manifest as visible ridges, vertical lines, or dull spots on the cut wall. The gas mixture inside the tube must be excited uniformly to produce a stable beam mode, typically TEM00, which ensures the energy is concentrated perfectly in the center of the beam.
Wattage serves as a primary evaluation dimension when configuring a machine. Cutting thick acrylic requires substantial thermal mass. Processing a 1/2-inch (12mm) sheet demands higher wattage, typically 100W or more, to achieve a single, slow pass. A single pass is mandatory for a polished edge. Attempting to cut thick acrylic with multiple fast passes using an underpowered laser will result in severe striations, a stepped edge profile, and significant material degradation. High wattage allows the operator to maintain a steady speed that keeps the melt pool fluid just long enough to self-level.
Optics and focal lenses control the geometry of the cut. The focal length of the lens determines the beam's depth of field and spot size. A short 2-inch lens produces a very fine spot size, ideal for engraving or cutting thin sheets up to 1/4 inch. However, the beam diverges quickly past the focal point, creating a V-shape. For thicker acrylic, a 4-inch lens is necessary. The longer focal length provides a much straighter beam profile over a greater distance, significantly reducing the taper on the polished edge of thick sheets. Zinc Selenide (ZnSe) lenses are standard, and keeping them free of vaporized acrylic residue is mandatory for consistent cutting.
Motion control systems and software integration translate digital intent into physical reality. The machine's controller interprets uploaded CAD designs and drives the gantry movements via stepper or servo motors. Smooth acceleration and deceleration algorithms are critical. If the laser head stutters or vibrates during cornering, the non-contact beam will transfer those vibrations directly into the melt pool, leaving vertical lines on the edge. This digital-to-physical workflow, combined with a non-contact beam, allows for the rapid prototyping and production of intricate geometries that would shatter under a mechanical router. An Acrylic Laser Cutting Machine equipped with closed-loop servo motors provides the smoothest possible motion, directly translating to a glass-like edge finish.
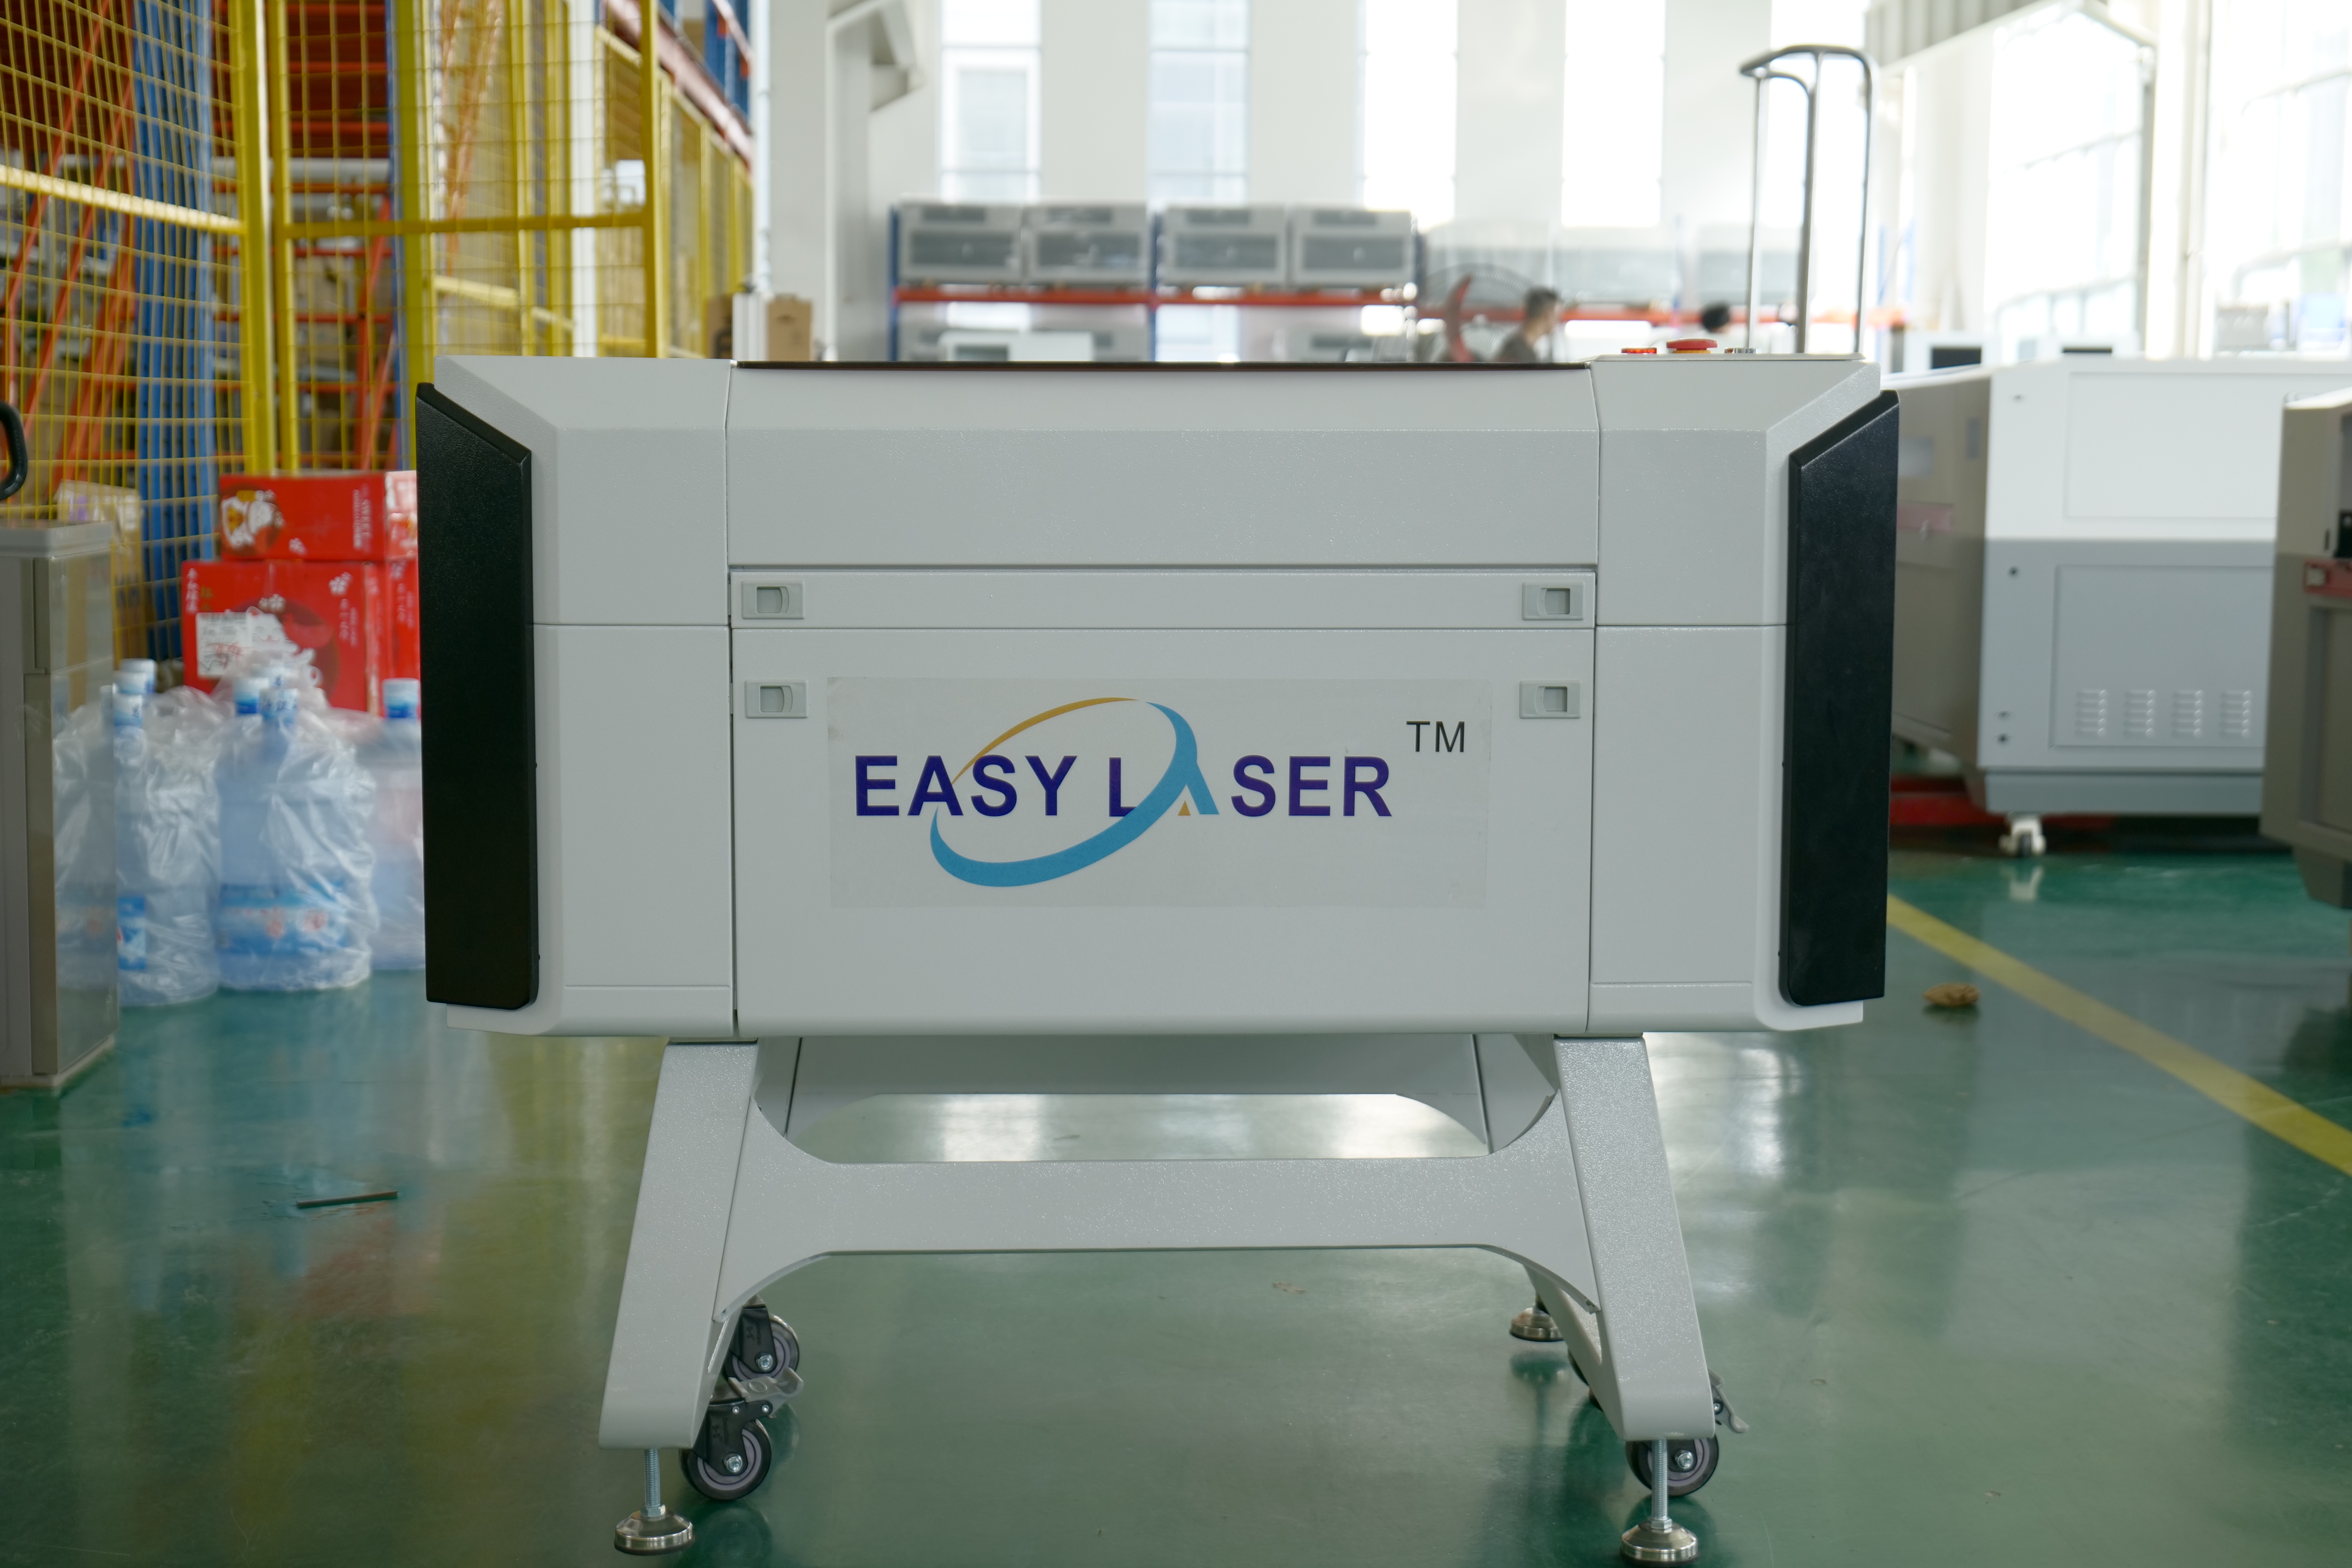
Hardware alone does not guarantee a perfect edge. Operators must balance speed, power, and frequency to tune the machine for specific material batches. The foundational rule for polishing acrylic is utilizing high power combined with slow travel speed. This combination allows the edge to melt smoothly and evenly. Additionally, tuning the Pulses Per Inch (PPI) or frequency ensures continuous energy delivery. If the frequency is too low, the laser acts like a perforation tool, leaving jagged micro-fractures along the cut line. You want the pulses to overlap seamlessly, creating a continuous wave of heat.
Parameter adaptation based on material thickness is a daily operational requirement. Thick sheets demand slow, high-power settings to penetrate the material fully while maintaining the melt pool. Conversely, thin acrylic requires high-speed, lower-power settings. Applying too much heat to a thin sheet will cause severe warping, excessive melting, and a widened kerf that destroys dimensional accuracy. Operators must build a library of tested parameters for every thickness and brand of acrylic they process.
Air assist management presents a counter-intuitive challenge in acrylic processing. In most laser applications, high-pressure air is used to blow away debris and extinguish flames. However, high-pressure air cools the acrylic edge far too quickly. This rapid quenching freezes the molten polymer before it can self-level, resulting in a cloudy, frosted look. Polished edges require precisely regulated, low-pressure air assist. The airflow must be just strong enough to gently push combustible vapors out of the beam path without cooling the cut wall. Many operators use a specialized wide-bore nozzle to diffuse the air gently over the cut zone.
Focal point placement also requires strategic manipulation. Standard practice dictates focusing the laser exactly on the top surface of the material. For thick acrylic, operators often focus the beam slightly into the material, typically one-third of the way down. This technique optimizes the beam's natural hourglass shape, placing the narrowest part of the beam in the center of the sheet. This adjustment promotes a highly perpendicular, smooth cut wall and minimizes edge tapering.
To find the exact optimal focal depth for thick acrylic, follow this procedure:
Selecting the right equipment involves navigating specific technological trade-offs. The choice of laser tube technology heavily influences edge quality. Glass tube (DC) lasers are cost-effective and utilize a continuous direct current. This continuous power delivery often produces a slightly better polished edge on acrylic because the melt pool never experiences microscopic interruptions. Metal or ceramic tube (RF) lasers offer faster pulsing and exceptional longevity. However, if an RF CO2 acrylic cutter is not calibrated perfectly, the rapid pulsing can sometimes leave microscopic striations on the edge of thick acrylic. RF tubes excel at high-speed engraving, while DC tubes are often preferred for heavy acrylic cutting.
Workbed selection directly impacts the bottom surface of the material. Standard honeycomb beds are excellent for flexible materials but detrimental to clear acrylic. The laser energy passes through the acrylic, hits the metal honeycomb grid, and reflects back up into the material. This causes visible "flashback" marks and pitting on the bottom side of the sheet. Because laser cutting requires no physical clamping, knife-edge (aluminum slat) or pin beds are the superior choice. They provide minimal surface contact, allowing the beam and exhaust to pass unobstructed, completely eliminating flashback.
| Workbed Type | Material Contact Area | Risk of Flashback | Best Application |
|---|---|---|---|
| Honeycomb Grid | High | Severe | Paper, Fabric, Thin Wood |
| Aluminum Knife-Edge | Medium | Low | Thick Acrylic, Plywood, MDF |
| Pin Bed | Minimal | None | Clear Acrylic, High-End Signage |
Exhaust and fume extraction are matters of strict operational compliance and safety. Vaporized acrylic produces methyl methacrylate (MMA) gas. This gas is highly volatile, flammable, and possesses a strong, irritating odor. High-CFM (Cubic Feet per Minute) extraction is mandatory. The system must rapidly evacuate these gases from the cutting cabinet to prevent localized fires, protect the operator's respiratory health, and prevent the vapor from condensing onto the sensitive optical mirrors and lenses. A dedicated inline exhaust fan venting to the exterior, or a multi-stage HEPA and activated carbon filtration unit, is required for continuous production.
Even with optimal settings, operators must navigate inherent material risks. Edge crazing, or micro-cracking, is a frequent failure point. The thermal cutting process introduces residual internal stress along the edge of the acrylic. If this stressed edge is subsequently cleaned with alcohol, ammonia, or harsh chemical solvents, the polymer chains will instantly fracture, causing a network of visible cracks. Operators must use specialized, solvent-free plastic cleaners. For critical applications, annealing the acrylic in a specialized oven after cutting relieves this internal stress completely. The annealing process involves slowly heating the acrylic to just below its deflection temperature, holding it there, and then cooling it at a controlled rate.
Troubleshooting striations and tapering requires mechanical vigilance. Poor edge quality is rarely a software issue. Dirty optics scatter the beam, reducing power density and causing a rough cut. Misaligned mirrors alter the beam path, leading to angled cuts. Worn gantry belts or loose linear rails introduce physical vibration into the laser head. Regular maintenance schedules must be strictly enforced to keep the mechanical delivery system as precise as the optical one.
If you encounter vertical striations on your acrylic edges, check these mechanical components immediately:
Managing flammability risks is an everyday reality in acrylic fabrication. The exact parameters required for a polished edge—slow speed, high power, and low air assist—create the perfect conditions for a sustained flame. The molten acrylic acts as fuel. Continuous operator supervision is absolutely mandatory during acrylic processing. Facilities should integrate automated fire alert systems and keep appropriate fire suppression equipment immediately accessible adjacent to the machine. Never leave a laser cutter unattended while processing thick acrylic sheets.
A: No. Clear acrylic does not absorb the visible or near-infrared wavelengths produced by diode or fiber lasers. The beam passes directly through the material without generating heat. Only the 10.6 µm wavelength of a CO2 laser is absorbed by clear acrylic to enable cutting.
A: Frosted edges are typically caused by excessive air assist pressure. High airflow cools the molten acrylic too rapidly, preventing it from self-leveling into a smooth, glossy finish. Reducing the air assist pressure allows the edge to melt and seal naturally.
A: Yes. Because laser cutting is a non-contact process, it exerts zero physical force on the material. This allows for the processing of highly intricate, fragile geometries and very thin sheets that would easily shatter or snap under the friction of mechanical routing.
A: The ideal wattage depends on material thickness. For thin sheets up to 1/4 inch, 60W to 80W is sufficient. For cutting thick acrylic of 1/2 inch or more with a polished edge in a single pass, 100W to 150W or higher is strongly recommended.
A: If the machine is configured correctly with the right speed, power, and low air assist, manual flame polishing is completely unnecessary. The laser process inherently vaporizes and melts the edge, leaving a naturally polished, optical finish directly off the machine.
A: Flashback occurs when the laser reflects off a metal honeycomb bed. To prevent this, replace the honeycomb grid with an aluminum knife-edge slat bed or a pin bed. These minimize surface contact and allow the beam to pass through unobstructed.


