
Please Choose Your Language
Views: 0 Author: Site Editor Publish Time: 2026-11-19 Origin: Site


Achieving flawless, professional-grade results on natural and synthetic materials challenges even veteran fabricators. Recent market data reveals a massive shift in custom fabrication. Workshops are seeing unprecedented demand for mixed-media products combining organic substrates with synthetic polymers. To stay profitable, operators must switch between these materials instantly without sacrificing edge quality. From an engineering perspective, optimizing thermal management is no longer a luxury. It is a strict baseline for survival in this competitive landscape.
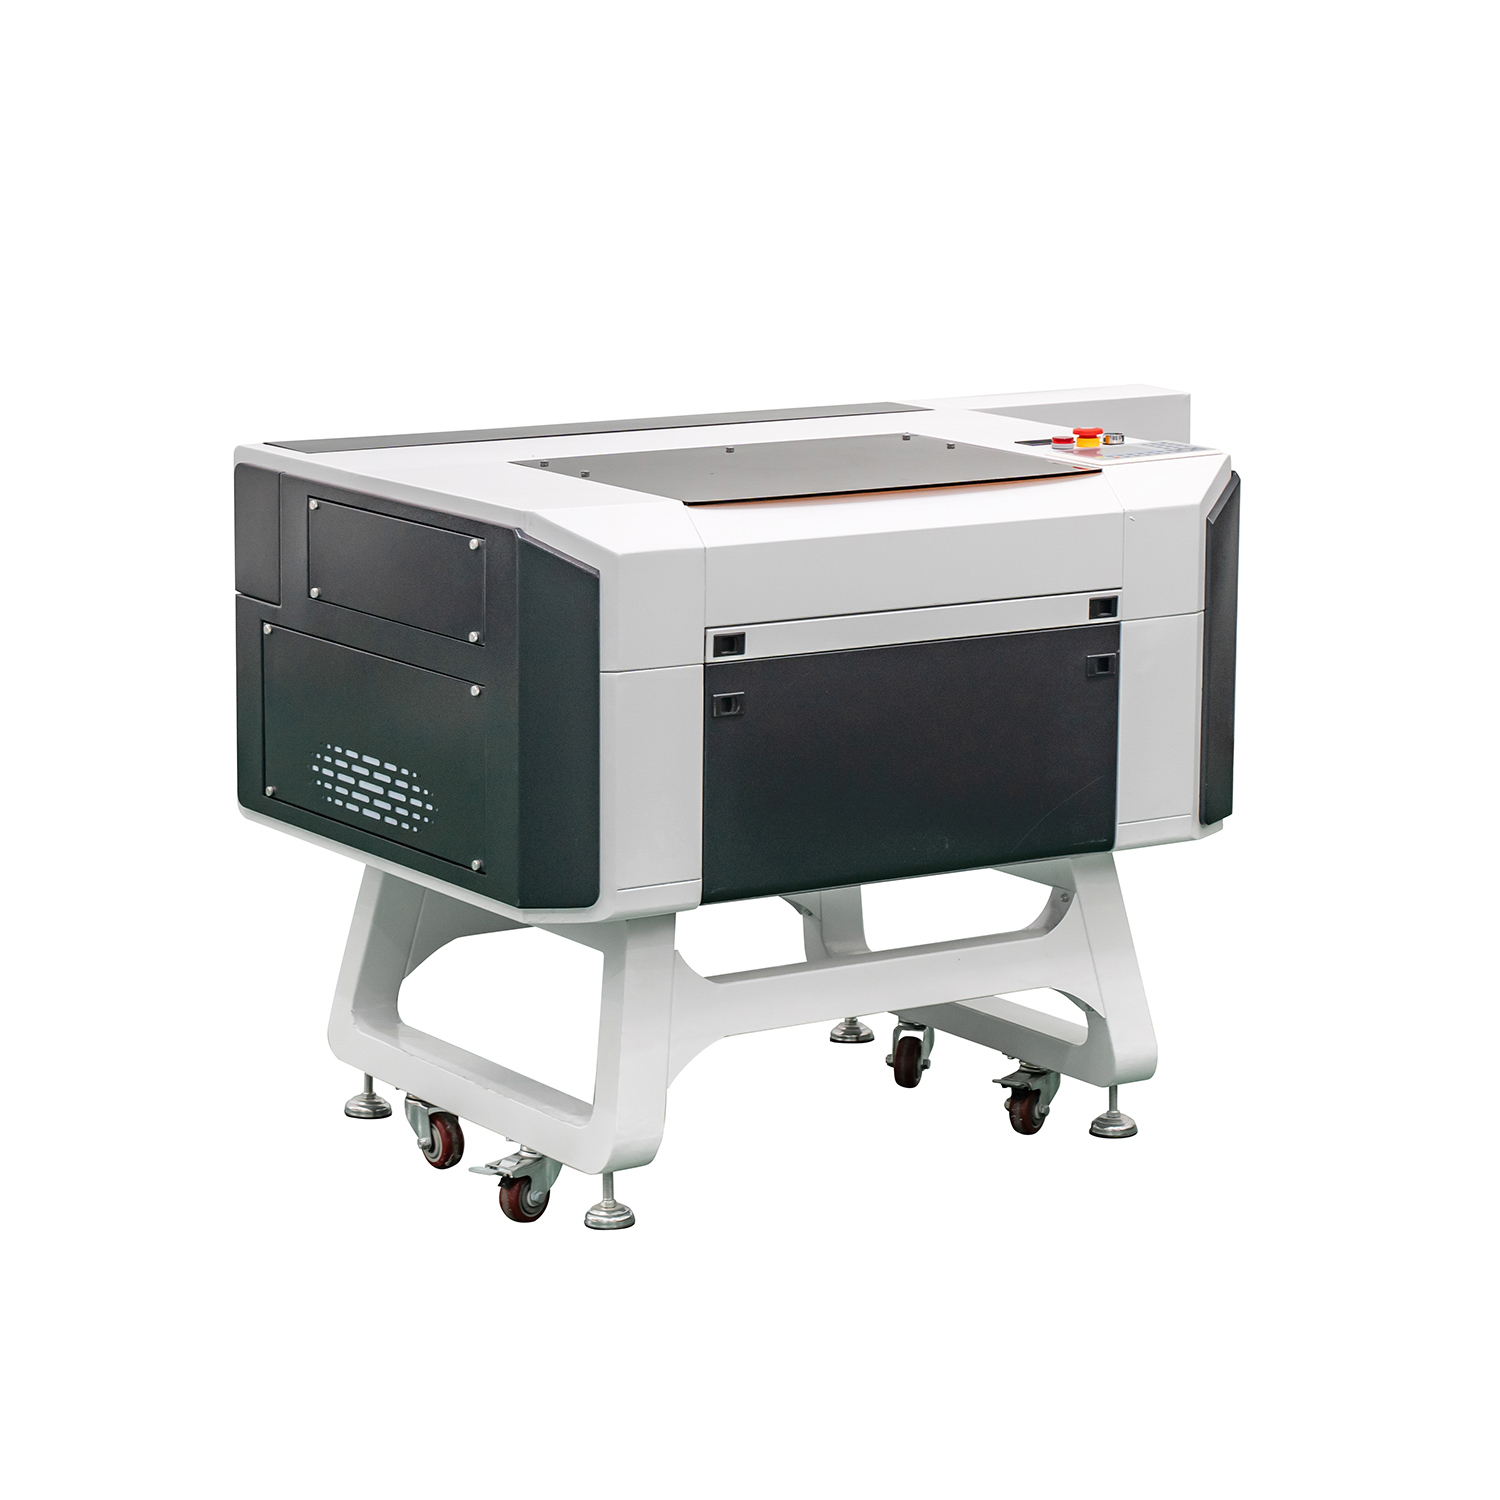
If you constantly battle charred timber edges or melted plastic finishes, the root cause is rarely the material itself. The culprit is usually misaligned parameters, poor surface prep, or severe hardware bottlenecks. A generic, one-size-fits-all setup guarantees failure. This technical guide breaks down the exact thermal parameters, prep routines, and hardware configurations required to drastically elevate your output. Whether you are fine-tuning a desktop unit or deploying a commercial-grade CO2 laser engraving machine, mastering these core principles will slash your scrap rate and boost your margins.
The core technology behind your system relies on a gas mixture stimulated by electrical currents. It emits a highly concentrated beam of light at a wavelength of 10,600 nanometers. This specific far-infrared wavelength absorbs perfectly into organic fibers and certain polymers. The energy converts to localized heat instantly, vaporizing the target with microscopic precision. This exceptional absorption rate keeps CO2 systems at the absolute top of the industry for these specific applications.
Achieving that picture-perfect result requires balancing three primary variables. Power is your raw energy output. Speed dictates how fast the gantry moves. Finding the exact sweet spot between these two prevents aggressive over-burning. Furthermore, understanding Pulses Per Inch and Dots Per Inch is critical for fine-tuning your software. High pulse rates create smooth vectors but build up massive heat. Low pulse rates work beautifully for perforations and delicate surface scoring without expanding the heat-affected zone.
Wood is an anisotropic material. Its density and thermal conductivity shift wildly with the grain direction. Effective wood laser engraving demands constant parameter adjustments based on the specific species on the bed.
Dense hardwoods like Oak and Walnut possess a tight cellular structure. They handle higher power and slower speeds flawlessly, yielding crisp and dark details. Softwoods like Pine are packed with sap and air pockets. Hitting softwoods with high power causes deep, messy charring and thick smoke. To get a clean surface mark on softwoods, you must increase your gantry speed and reduce power. Let the beam merely kiss the surface without igniting the underlying fibers.
Surface preparation eliminates one of the biggest headaches in the workshop. As the beam vaporizes cherry wood, the smoke carries sticky resins. This sap settles on the workpiece, creating an ugly amber stain known as smoke blowback. Apply medium-tack paper masking tape over the board before pressing start. The beam punches through easily, while the tape catches all the residual soot. Alternatively, wiping the surface with a damp sponge alters the thermal conductivity of the top layer. This engineering trick controls the burn rate and stops peripheral charring on intricate jobs.
Beginners often use a single, slow, high-power pass to get a pitch-black mark. In practice, this aggressive approach destroys fine details and collapses the cellular structure. To optimize darkness while preserving resolution, run multiple passes at high speed and lower power. Incremental material removal allows the substrate to cool between passes. This builds a rich carbonized layer without expanding the dreaded heat-affected zone.
The chemical manufacturing of polymethyl methacrylate dictates its exact reaction to thermal shock. When running an acrylic engraving machine, knowing your sheet type is the foundational rule of quality control.
Cast sheets are poured into flat molds. They vaporize cleanly under a laser and leave a highly desirable frosted white contrast. This makes cast material the undisputed champion for LED edge-lit signs and custom awards. Extruded sheets are pushed through mechanical rollers. They carry internal tension and possess a lower melting point. Extruded material melts and clumps under a rastering beam, leaving zero visual contrast. Reserve extruded sheets strictly for cutting applications, where they excel at yielding flame-polished edges.
Imagine pulling a freshly marked plaque from the bed, only to find deep track lines marring the solid text. Seasoned operators use a defocusing technique to eliminate this banding. By lowering the workbed by about 1.5 to 2.0 millimeters, the focal spot artificially widens. This softer beam overlaps previous passes smoothly. It melts away localized intensity and yields a buttery, uniform frosted finish.
Thermoplastics warp easily under sustained infrared exposure. If localized heat exceeds the glass transition temperature, the sheet bows right on the honeycomb bed. Operators must balance high gantry speeds with conservative power settings. Leave the protective paper backing on the underside of the sheet. This stops the beam from reflecting off the metal grid and causing unsightly flashback marks on the rear surface.
Flawless technique inevitably fails when hardware bottlenecks occur. Upgrading your equipment transforms abstract software settings into measurable, repeatable reliability. Here is how to match machine specifications to your production needs.
For workshops focused on ultra-fine photographic details, standard glass tubes often fall short due to slower pulse frequencies. Upgrading to a High-Speed 6040 RF CO2 Laser Engraving Machine introduces Radio Frequency technology into your workflow. Metal RF tubes pulse thousands of times faster per second. This generates a microscopic, perfectly round spot size. It delivers magazine-quality detail on wood while minimizing peripheral heat damage on delicate polymers.
If your daily workflow involves processing thick materials alongside fine surface marking, raw wattage is critical. A desktop unit will ruin the edge quality of half-inch cast polymer by forcing multiple passes. A mid-to-large format system equipped with 80W, 100W, or 150W tubes slices through thick polymers cleanly in one pass. It still retains the low-end control necessary for crisp surface scoring.
Human error in focal length setup ruins countless workpieces. Advanced dual-head systems integrate auto-focus mechanisms and CCD cameras. The focal distance becomes mathematically perfect every single time. Furthermore, dual heads process two identical items simultaneously. This instantly doubles your production capacity without sacrificing a millimeter of dimensional accuracy.
| Parameter | Organic Timber | Cast Synthetic Polymer |
|---|---|---|
| Power/Speed Ratio | Moderate Power, High Speed | Low Power, High Speed |
| Air Assist Volume | High Pressure to clear carbon soot | Minimal Pressure to prevent hazy finish |
| Focal Adjustment | Mathematically precise focus | Defocused by 1.5 to 2.0 millimeters |
| Surface Masking | Top masking highly recommended for resin | Keep bottom paper intact to stop flashback |
| Ideal Tube Type | DC Glass or RF Metal | RF Metal for microscopic text clarity |
The focal lens takes the raw beam and converges it into a microscopic point. The focal length dictates both the spot size and the vertical depth of field.
A 1.5-inch lens produces the smallest possible spot size. It handles ultra-high-resolution photo processing and microscopic text flawlessly. However, its shallow depth of field makes it useless for cutting thick stock. The 2.0-inch lens serves as the industry standard. It balances a small spot size for crisp vectors with enough depth of field to cut quarter-inch substrates. Conversely, a 4.0-inch lens is engineered for a long vertical depth of field. It slices thick foams cleanly but yields muddy, blurry results for detailed surface marking.
Microscopic dust and sticky resins constantly circulate inside the chassis. If particulates settle on the lens, the incoming beam bakes the dirt directly into the optical coating. This scatters the beam and destroys power transmission. Daily cleaning with optical-grade isopropyl alcohol is non-negotiable for maintaining professional-grade quality.
Airflow governs thermal dynamics at the point of contact. When processing timber, the laser combusts cellulose rapidly. A robust air assist acts as a mechanical broom. It blows combustible gases away from the trench and extinguishes small flames instantly. This keeps the wood edges sharp and clean.
Conversely, blasting high-pressure air onto molten plastic cools the vaporized pool too rapidly. This traps microscopic bubbles and creates a rough, hazy finish. Dial the air assist down to a bare minimum for plastics. You only need enough positive pressure to keep toxic fumes from traveling upward into the nozzle.
The exhaust system manages the macro-environment. A high-capacity inline extraction fan is vital. Lingering smoke will settle onto porous wood grain or static-prone plastics. Complete air exchange within the cabinet prevents particulate contamination and protects your mechanical components.
The optical path uses a stationary tube and three flying mirrors. If one mirror is misaligned by a fraction of a degree, the beam strikes the lens off-center. This causes a ghosting effect where edges have faint, blurry shadows. Run routine pulse tests using thermal tape over the mirror targets to keep the beam perfectly plumb.
Gantry systems rely heavily on rubber timing belts and linear guide rails. Loose belts cause mechanical backlash, turning perfect circles into jagged ovals. Over-tightened belts stress the stepper motor bearings. Keep the linear rails free of abrasive dust and lubricate them with light machine oil to ensure smooth, repeatable motion.
Glass tubes generate immense heat and require active water cooling. Industrial chillers must hold a strict temperature range, typically between 16 and 20 degrees Celsius. Fluctuating water temperatures alter the gas mixture efficiency. This causes highly noticeable drops in cutting power during long production runs.
When a wood profile lacks depth, check the energy density first. Grab your digital calipers and verify the bed distance. An out-of-focus beam loses its concentrated punch. Next, inspect the lens for resin buildup. Finally, evaluate the wood grain. If settings are too fast, the beam lacks the dwell time to penetrate dense latewood. Reduce your gantry speed incrementally to increase thermal dwell time.
If acrylic shows deep grooves, the pulses are failing to overlap smoothly. Increase the lines per inch in your software to melt the paths flat. Alternatively, employ the defocusing technique. Always verify you are processing cast material, as extruded sheets will stubbornly clump regardless of your software settings.
Blurry edges point directly to mechanical wobble. Check the lens carriage for physical play and tension the X-axis belt. Ensure the lens is seated tightly and not rattling from air pressure. If the hardware is tight, your standard glass tube might be reaching its response time limit, signaling the need for an RF laser upgrade.
Elevating your output on mixed substrates is a continuous engineering process. Mastering speed, power, focal length, and airflow permanently eliminates severe charring and melted edges. However, flawless technique cannot overcome hardware bottlenecks. For workshops scaling their production, investing in commercial-grade equipment with RF tubes, auto-focus, and heavy-duty mechanics is the most effective path to manufacturing perfection. Assess your production volume, select the appropriate EasyCNC system based on your material thickness requirements, and watch your project quality transform instantly.
The optimal equipment depends on your production volume and detail requirements. For ultra-detailed surface work, an RF tube system is highly recommended due to its rapid pulse rate and superior beam profile. For processing thicker substrates, a mid-to-large format model equipped with 80W to 150W DC glass tubes offers the best balance of cutting power and production efficiency.
Excessive charring is a thermodynamic issue. It occurs when localized heat exceeds the material's ability to dissipate it. This happens when power is set too high, speed is too slow, or air assist is insufficient. Applying high-quality paper masking tape to the surface before processing effectively prevents vaporized resin from bonding to the grain.
For surface texturing and marking, you must exclusively use cast material. Cast plastics vaporize cleanly, leaving a high-contrast frosted white finish. Extruded plastics tend to melt and clump during surface processing due to manufacturing tension. However, extruded material is excellent for clean, flame-polished through-cutting.
No. These substrates possess fundamentally different thermal properties. Organic materials require higher speeds, moderate power, and high-pressure air assist to prevent combustion. Synthetic thermoplastics require precise thermal management, lower power, defocused lenses, and minimal air pressure to prevent a hazy finish.
Preventative maintenance dictates daily inspection of your focal lens and flying mirrors. This is especially critical when processing organic materials that produce heavy smoke. Cleaning the optics with optical-grade wipes and isopropyl alcohol every few days ensures maximum power transmission and maintains crisp quality.
Smoke stains on the rear of a workpiece, often called flashback, occur when the beam reflects off the metal honeycomb bed. To prevent this, elevate the wood slightly off the grid using standoff pins, or apply masking tape to the underside of the board before cutting.
For standard wood processing, a resolution between 250 and 300 DPI provides excellent detail without excessive heat buildup. Pushing the DPI to 600 or higher on organic materials often causes the laser pulses to overlap too much, resulting in deep charring that obscures the photographic details.


